
7 Useful Baking Tips
Let’s dive into Part 3 of the Basics of Baking Series: Useful Baking Tips! In this post, I share 7 Useful Baking Tips to help you gain confidence and become the best baker you can be!

If you haven’t read the first two parts of the Basics of Baking Series I recommend you read them first as they have the foundational information before you start baking. Essential Kitchen Equipment and What Every Home Baker Must Do Before Baking are the first two blog posts in the series so be sure to give them a quick read too.
Useful Baking Tips
1. Put Away Ingredients as you Bake
If you read What Every Home Baker Must Do Before Baking, one of the tips was to take out all the ingredients you need before you start baking. To follow up on that I also recommend putting away the ingredients as you bake. For example, if you are making cookies, place the sugar back in the pantry as soon as you’re done adding it to your recipe. That way if you have anything left on your counter you can ask yourself “Did I forget to add this ingredient?” Nothing is worse than baking something and realizing you forgot a crucial ingredient!
Another great reason for this tip is that it makes clean-up a lot easier when you’re done. And, you feel less cluttered as you’re baking, so it’s a win-win all around.
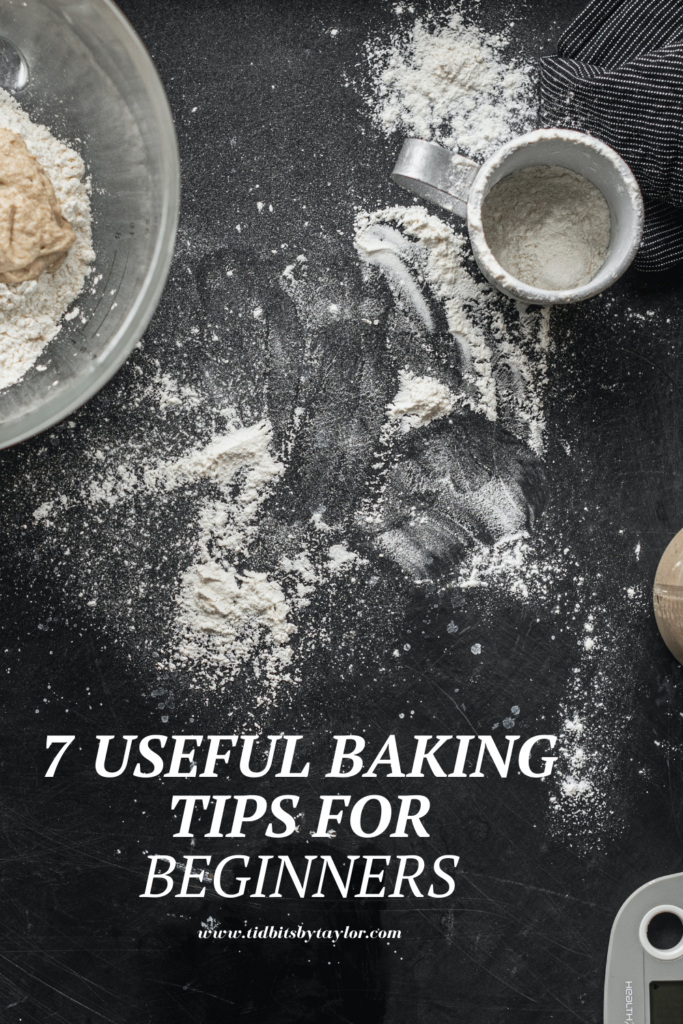
2. Measure Ingredients Properly
Believe it or not, measuring your ingredients properly has a big impact on the results of your baking. When measuring liquids you want always to use liquid measuring cups. And, when measuring dry ingredients, you want to use dry measuring cups
The reason for this is there is actually a small difference in the amounts from liquid and dry measuring cups and the smallest difference can sometimes make the biggest impact on your baking.
Furthermore, use correct baking tablespoons and teaspoons rather than tableware because the measurements can also be off on your tableware.
In addition to using the right measuring equipment, here are a few helpful tidbits on measuring them correctly.
For liquids, make sure you measure at eye level to see the correct amount.
For dry ingredients be sure to level off the tops of the measuring cups with the flat side of a butter knife. Also, for most recipes, you will need to pack the brown sugar first in the measuring cup. However, do not pack ingredients like flour, just lightly scoop up the flour and level it with a butter knife as mentioned above.
3. Follow the Recipe Directions
It is important to follow the recipe exactly as is written or it may not turn out as it intended to be. Baking is a lot more finicky than cooking. With cooking you can play around more with recipes but because baking is more of a science it is important to follow the recipe directions.
4. Be Wary of Substitutions
Again, because baking is more of a science, you need to be wary of substitutions because not everything will be easily replaced and still turn out as good as it should. Do your research before you start substituting ingredients. Google is a great place to start, but you could also ask the author of the recipe if it is from a website.
5. Be Wary of Doubling Recipes
Most recipes should be fine to double, however some just won’t turn out the same. Most cookies, quick bread, and muffin recipes turn out fine when doubled. However, food like jam probably won’t be set if doubled. So again, do your research before you start doubling a recipe.
6. Cool Properly with Wire Racks
Many people glaze over the cooling process but it is also another important part of the baking process. To be sure your baking cools properly place your hot out of the oven pans directly onto cooling racks This will allow the food to cool down and stop the baking process.
Also, read the recipe for proper cooling directions. For example, for most quick breads I recommend cooling in the pan on a wire rack until completely cool before turning out of the pan. For cookies, however, you need to remove them from the pan about 5-10 minutes after cooling. Then place on your wire rack to finish cooling or they can overbake by staying on the hot pan.
Another tidbit: make sure the food cools completely to room temperature before properly storing it…which leads me to my next tip.
7. Properly Store your Baking
Once your baking has completely cooled you can store the food. How you store will depend on when you plan to eat it and what the food is. For most foods, you can place them in a ziplock bag or sealed container. Make sure that whatever you use to store the food is sealed because anything less can dry out your baking. For layered cakes, a cake stand will be needed. For some cakes like sheet cakes for example you can leave them in the pan and place a lid or plastic wrap
on top. For quick breads, use ziplock bags or saved used bread bags from the store also works great.
If you plan on freezing the baking, you will need freezer-safe containers or bags to properly store it. For Pie and cake layers you can use large freezer-safe ziplock bags or wrap in plastic wrap and then with a layer of aluminum foil
.
Tidbit: don’t forget to label your food with the date. For most baked goods, store at room temperature for up to 3 days, in the refrigerator for up to one week, and in the freezer for up to 3 months.
I hope these 7 Useful Baking Tips will help you become a more confident baker. Remember these tips on your next baking adventure and have fun while you’re at it 🙂
Related Post’s:
What Every Baker Must Do Before Baking
Natural vs Dutch-process Cocoa Powder: Surely you’ve seen both in the baking aisle, but how are you to know which to buy? And what is the difference anyways? Acidity.
Great question! Yes the acidity is the difference between them. Natural cocoa is acidic, while Dutch-processed has been alkalized. Always use natural cocoa powder for recipes that call for baking soda. Dutch process is often paired with baking powder. You can use either type in recipes that do not call for baking soda or baking powder. However, when in doubt, I suggest using natural cocoa powder over dutch. Sally’s Baking Addiction has a great article that explains the difference. https://sallysbakingaddiction.com/baking-basics-dutch-process-natural-cocoa-powder/ All of my recipes use natural cocoa powder unless I specifically specify Dutch processed.