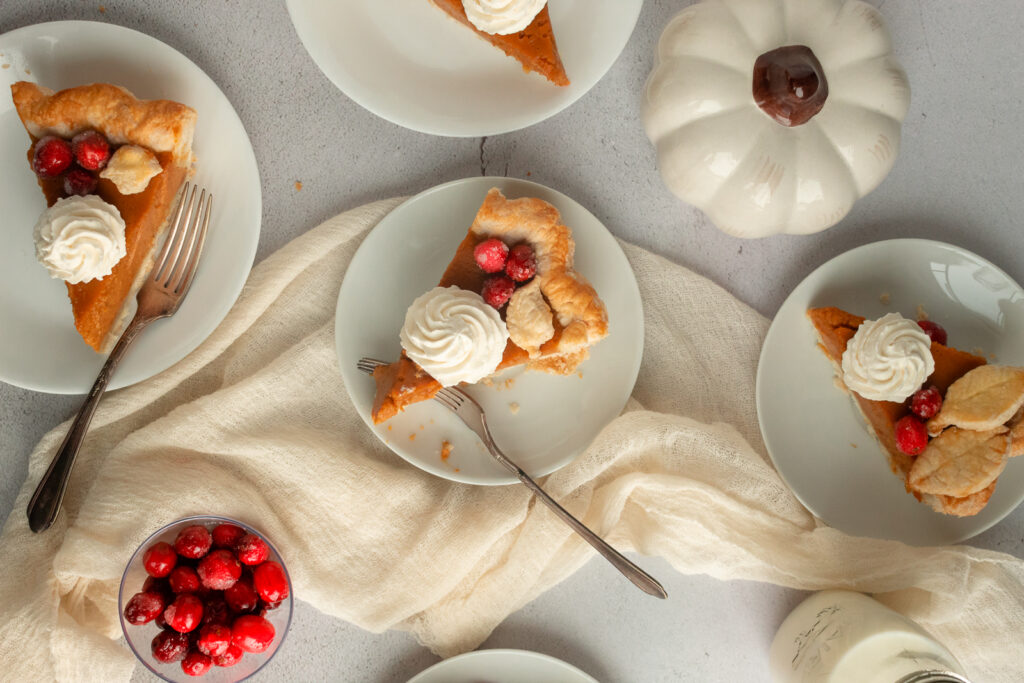
Five Ways to Style a Pie Crust
In this post, I give you five different ways you can style a homemade pie crust. Ranging from super easy to intermediate methods of styling, you can have a gorgeous pie to serve your family and friends in no time. Or, as they say, Insta-worthy looking pies!
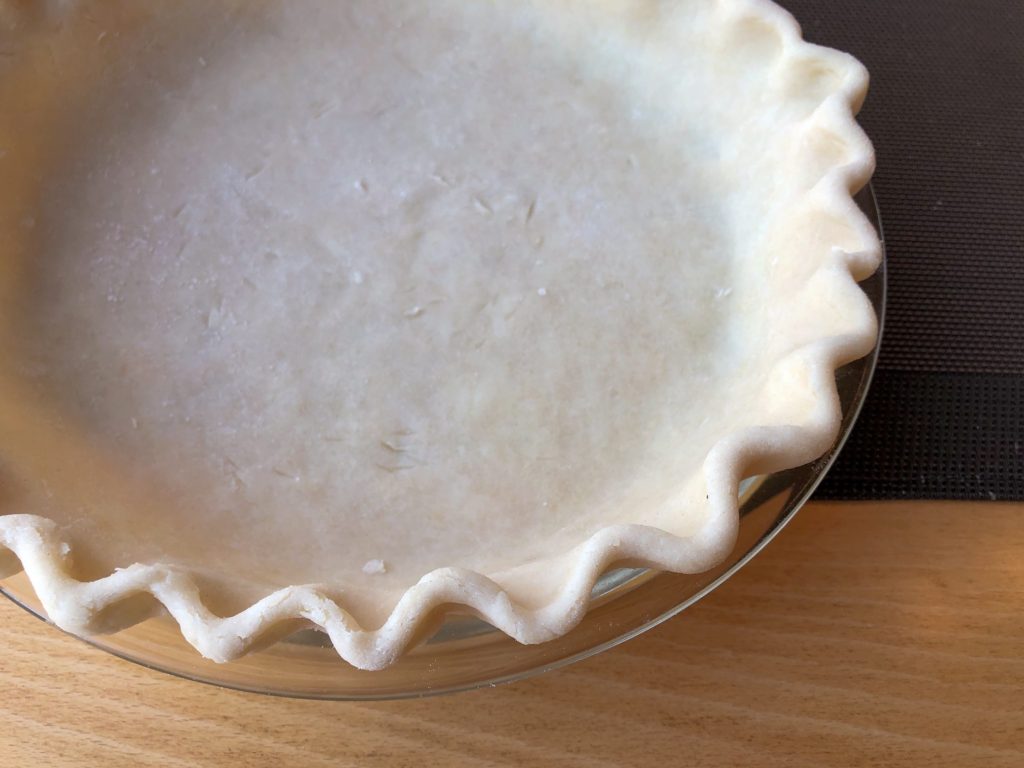
First, you’ll need a homemade pie crust recipe. You can use my Perfect Pie Crust recipe or your own favourite. My Perfect Pie Crust recipe uses pure lard, such as Tenderflake and makes 6 single pie crusts, or 3 double pie crusts, so you will have a lot to practice with.
Pies are always a crowd favourite, and there are so many different kinds of delicious pie fillings out there. Whether you are making Pumpkin, Apple, or whatever type of pie you are making, as long as it calls for a traditional pie crust, you can use any of these methods to style your pie crust to make a beautiful pie.
Let’s dive in!
5 Ways to Style a Pie Crust
Single Pie Crust Styling
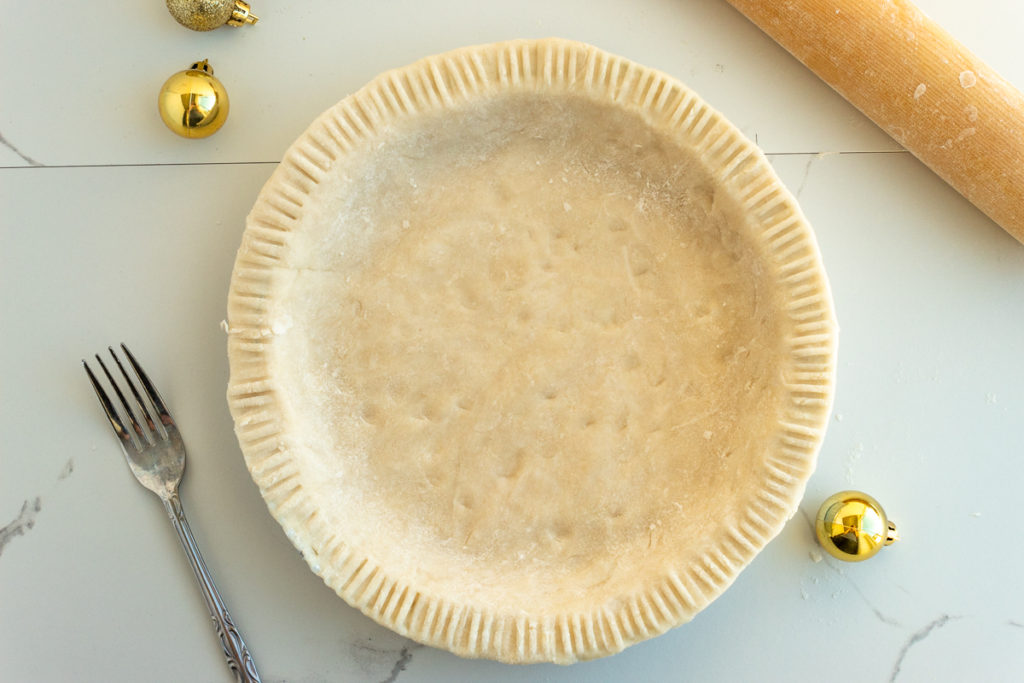
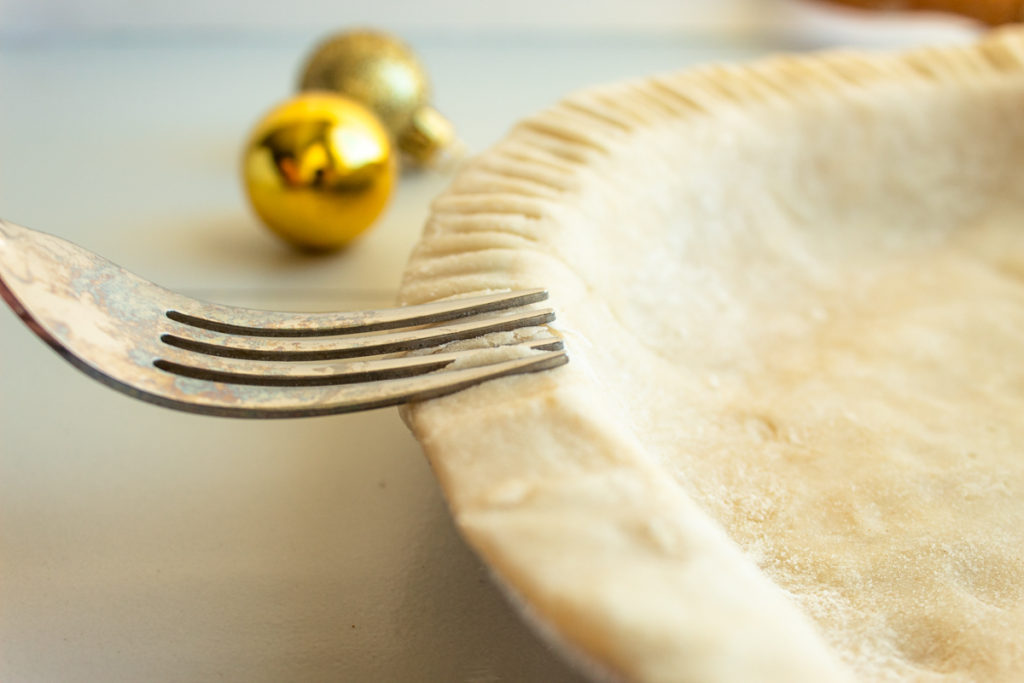
1. Use a Fork
The simplest of methods is to use a fork! Once you have your pie crust in your desired pie dish, simply press a fork on the edge of the pie crust all around the edge of the crust to make a simple, easy, and quick design.
2. Use your Thumb
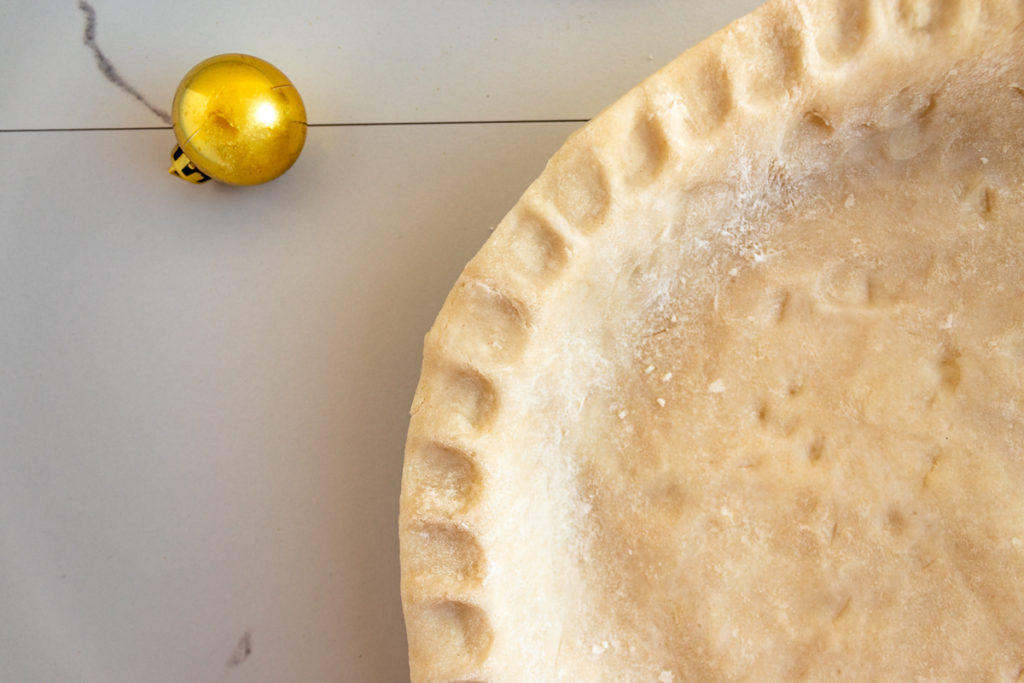
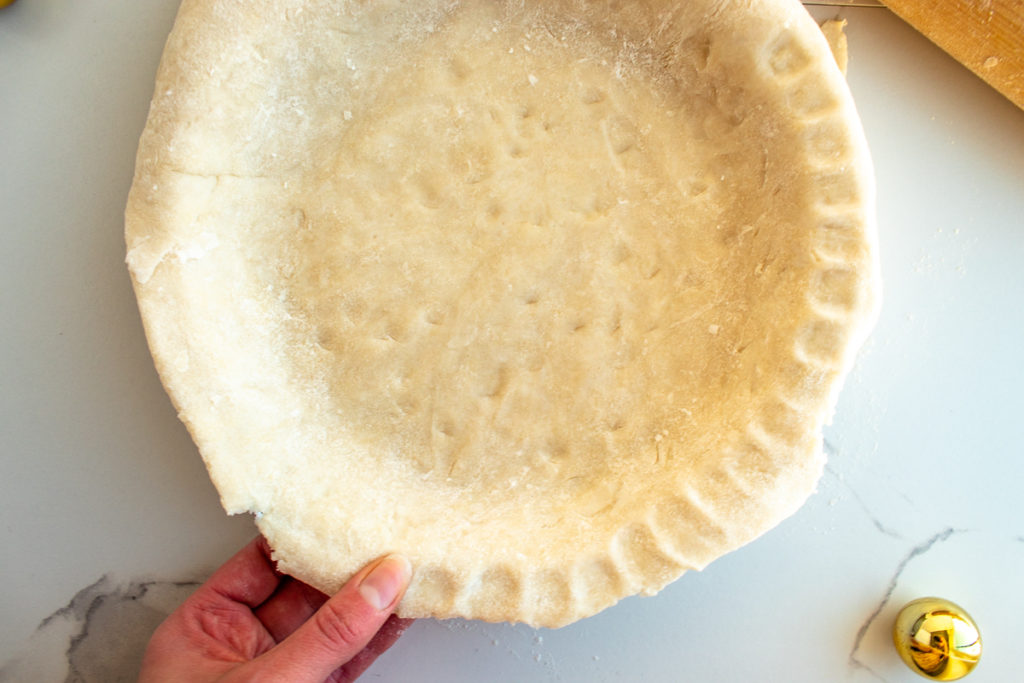
Another super simple method requires no equipment at all, other than your thumb! Place your thumb down on the edge of the pie crust so that it makes a little indent, and keep going all around the pie crust edge.
4. Fluted
For this method, you will want to trim the pie dough, leaving it a bit longer around the edge. Leave about one inch of overhang. To be precise, use a ruler and make a little indent with your ruler in various places around the edge so you know exactly where to trim. You can use a sharp knife or kitchen shears to trim the edge.
Tidbit: Don’t throw away the scrap pieces of pie dough just yet. Save them for later, just in case you need more.
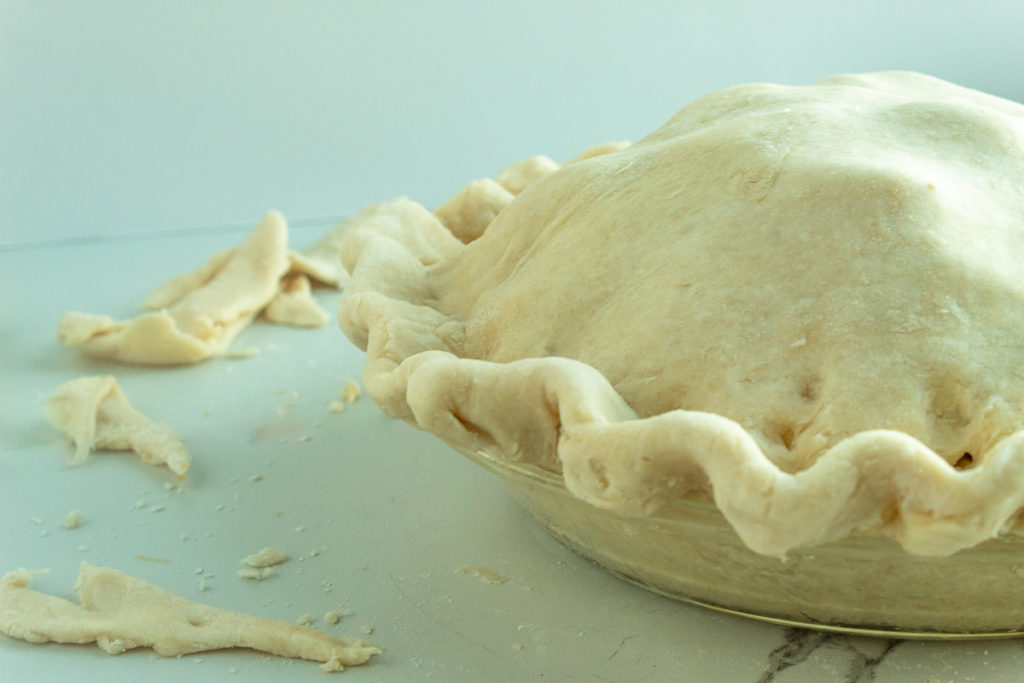
Now, roll the overhang underneath itself to create a thicker edge on the top of the edge of the pie plate. To flute the edge, place one hand on the inside of the pie plate and one on the outside. Use your index finger on your inside hand to press the dough between the thumb and index finger of your outside hand, which should create a U shape. Repeat all around the edge, spacing about an inch apart.
If you come across a piece of pie crust dough around the edge that is too sparse, just grab a little piece of dough from the scraps, dab it with a little water and place it on the sparse area to patch it up. Then, continue crimping all around the edge.
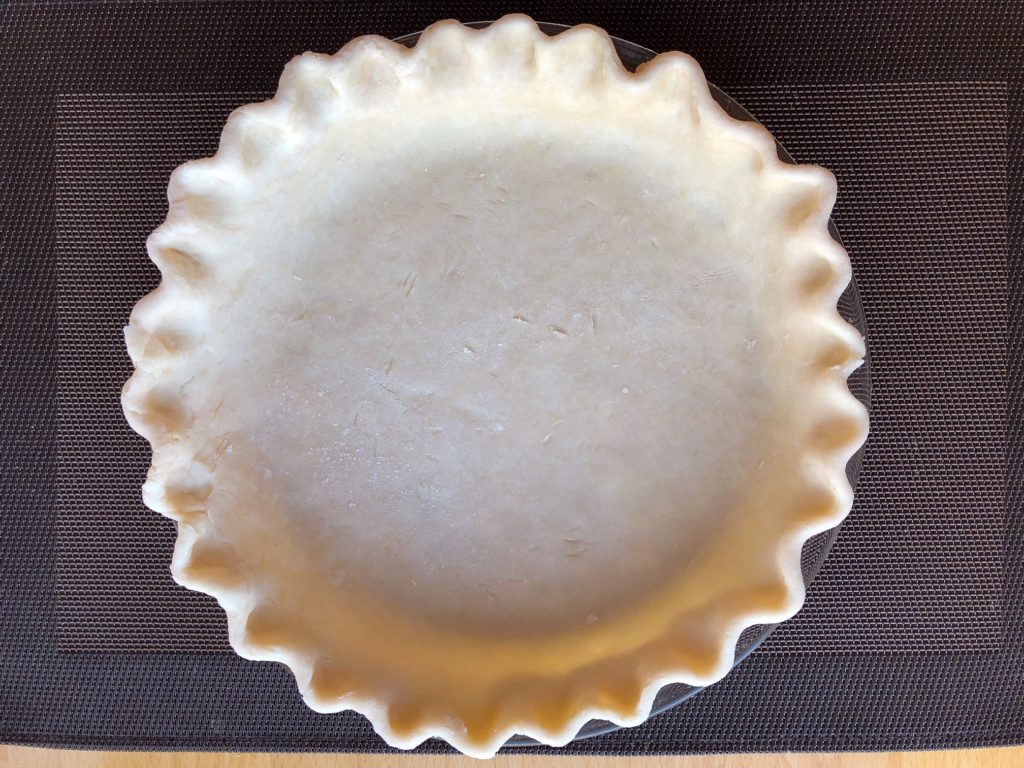

This method not only looks beautiful but also serves to hold up the delicious pie filling.
Double Pie Crust’s
Full Top Crust with Design
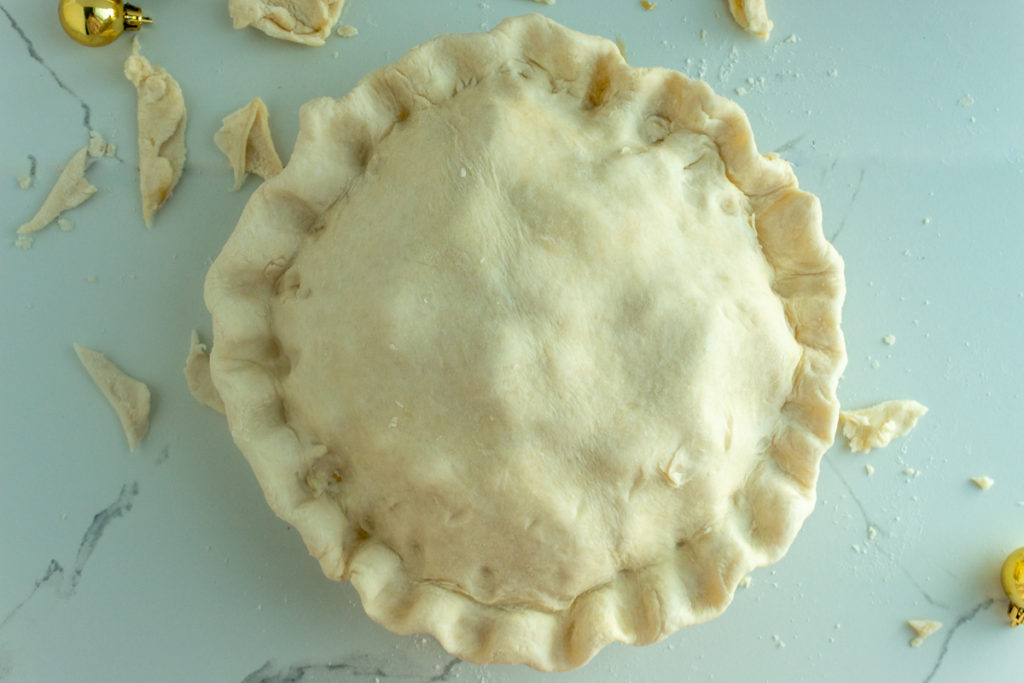
For a double pie crust, you will need to place one rolled pie crust dough in your desired pie plate, leaving 1 and 1/2 inches of overhang. Fill with your desired pie filling.
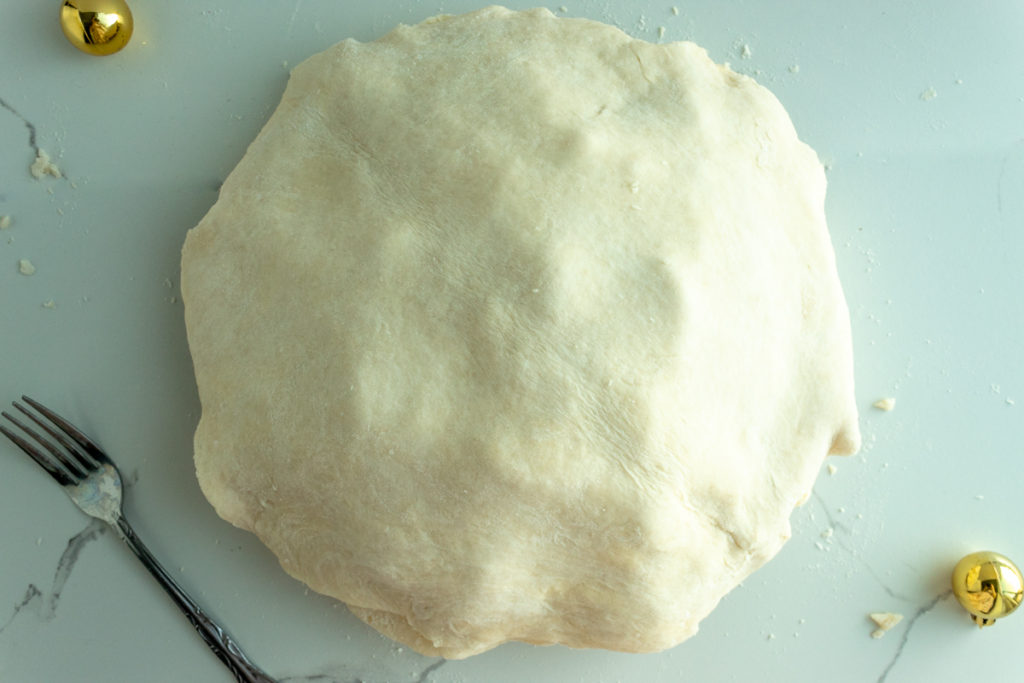
Place your second rolled pie crust directly and evenly over your filled pie. Trim the outside edge, leaving a 1/2 inch overhang. Fold down both pieces of dough together and tuck the edges underneath.
Flute the edges as desired using the fluting instructions given above. This will give the edges a nice seal and decorative touch.
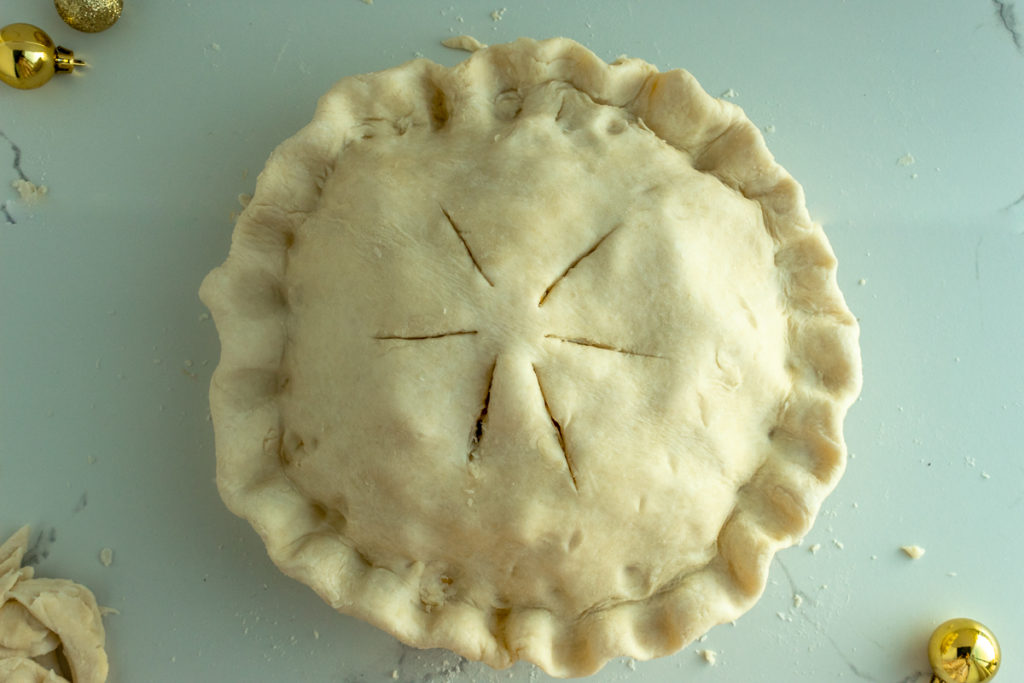
Now the pie crust will need some ventilation so cut about 6 or so slits to the top of the pie crust. You can do just simple straight slits or make pretty little designs. And, it is ready to be baked.
Lattice
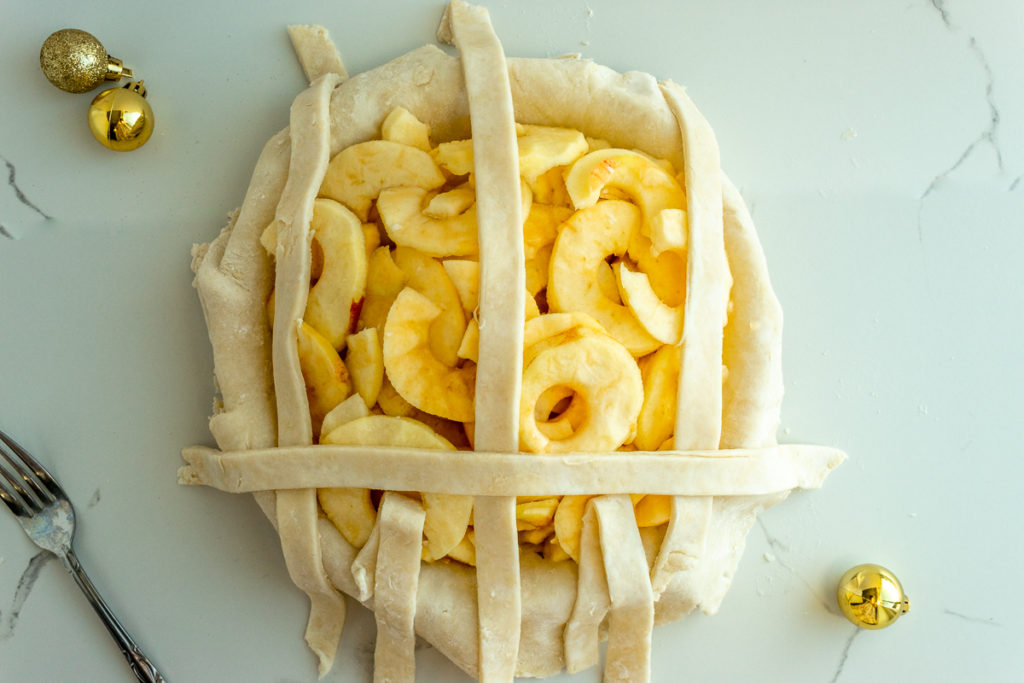
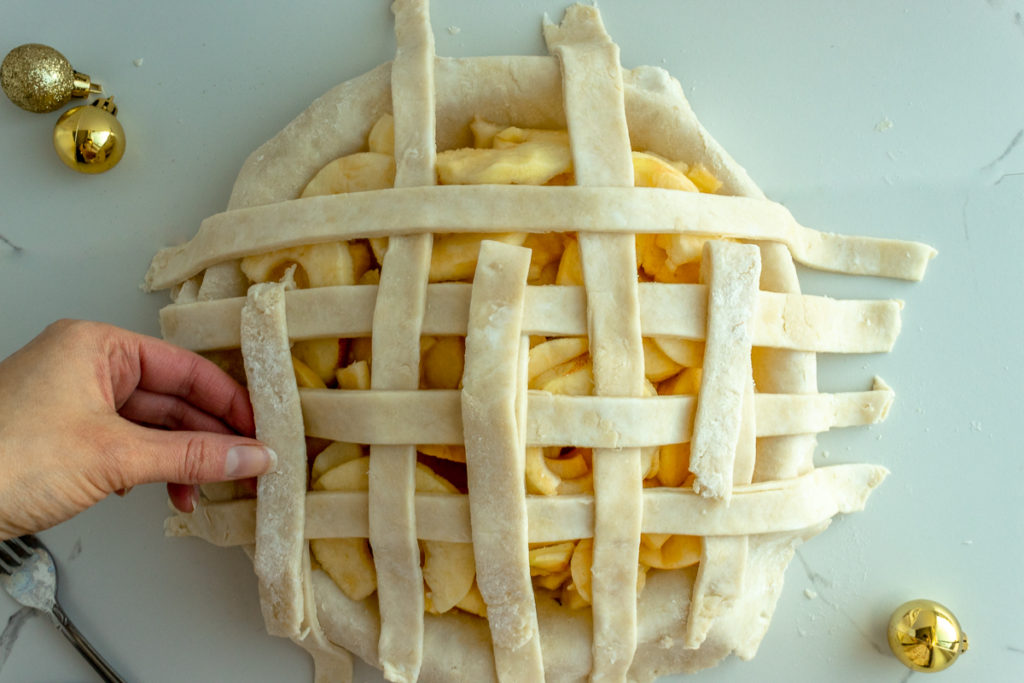
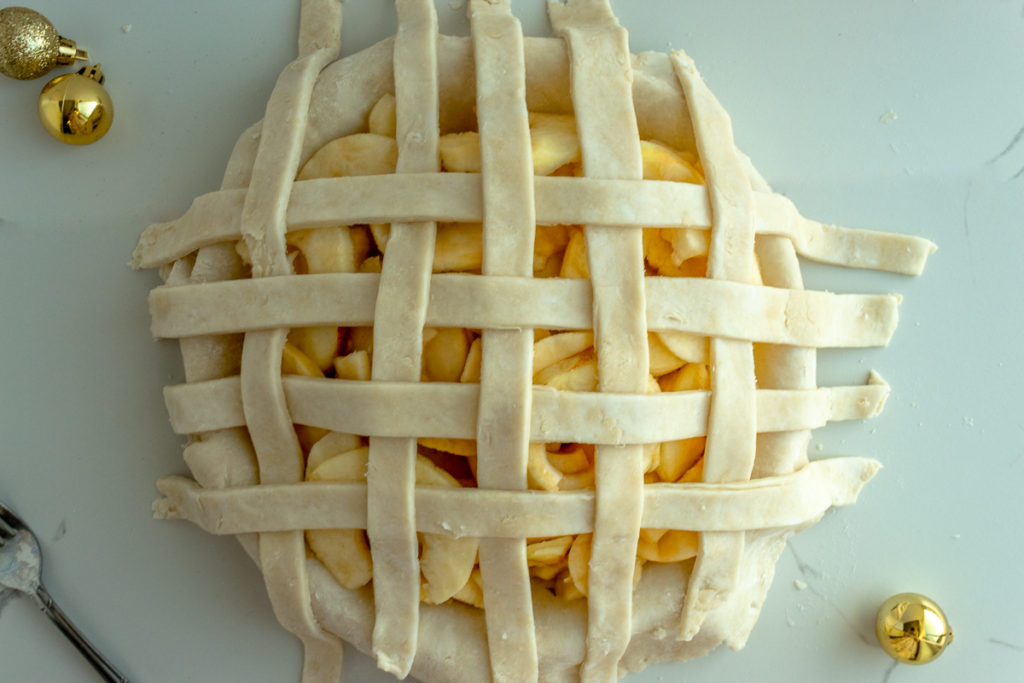
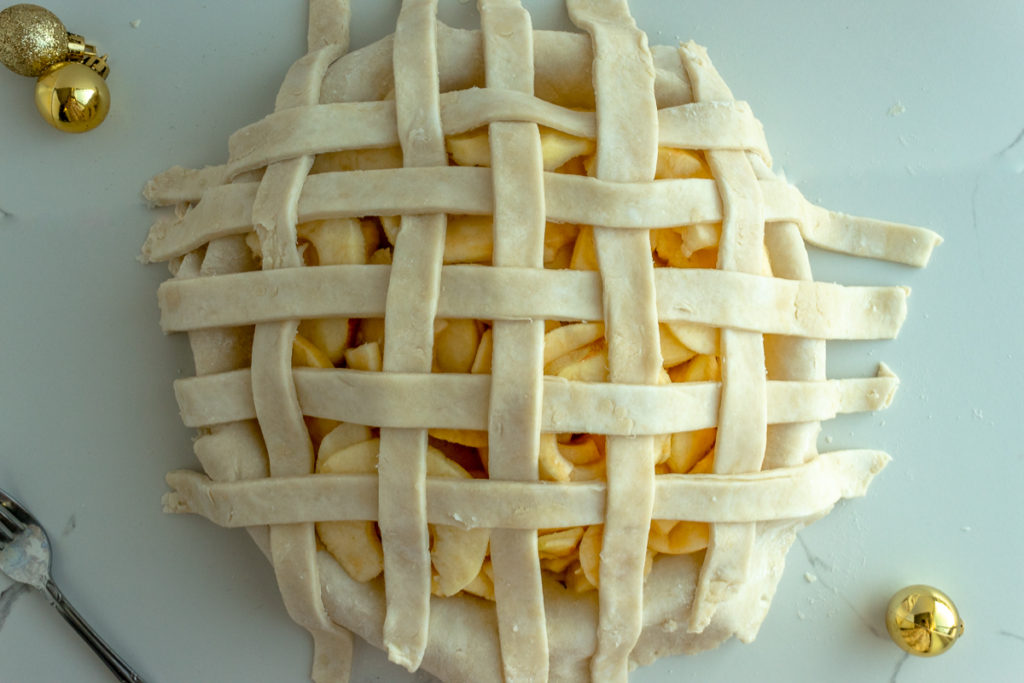
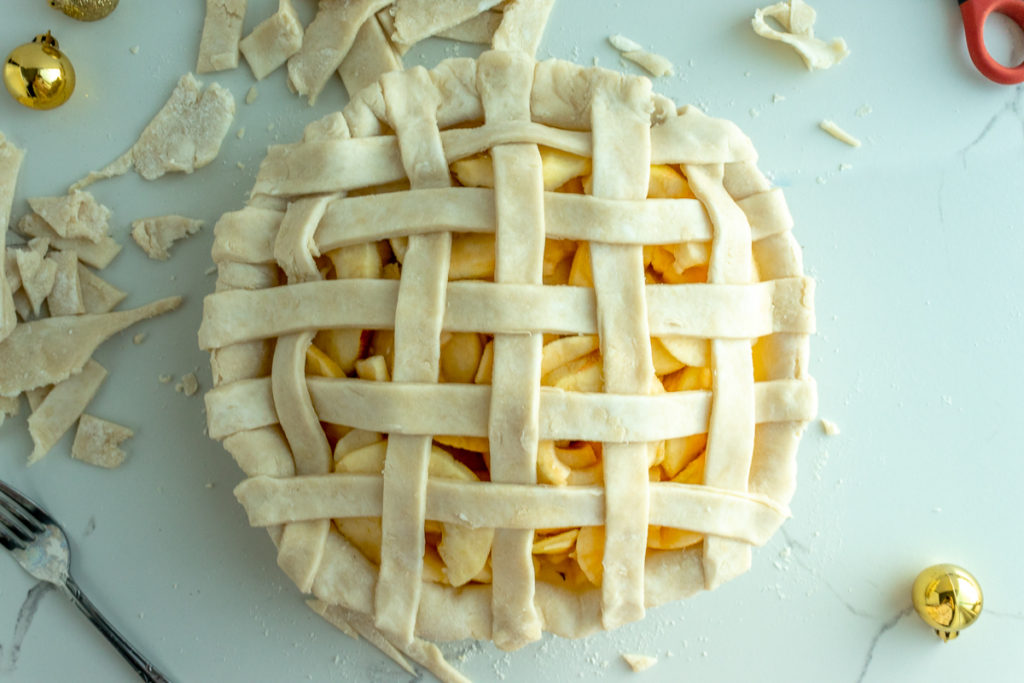
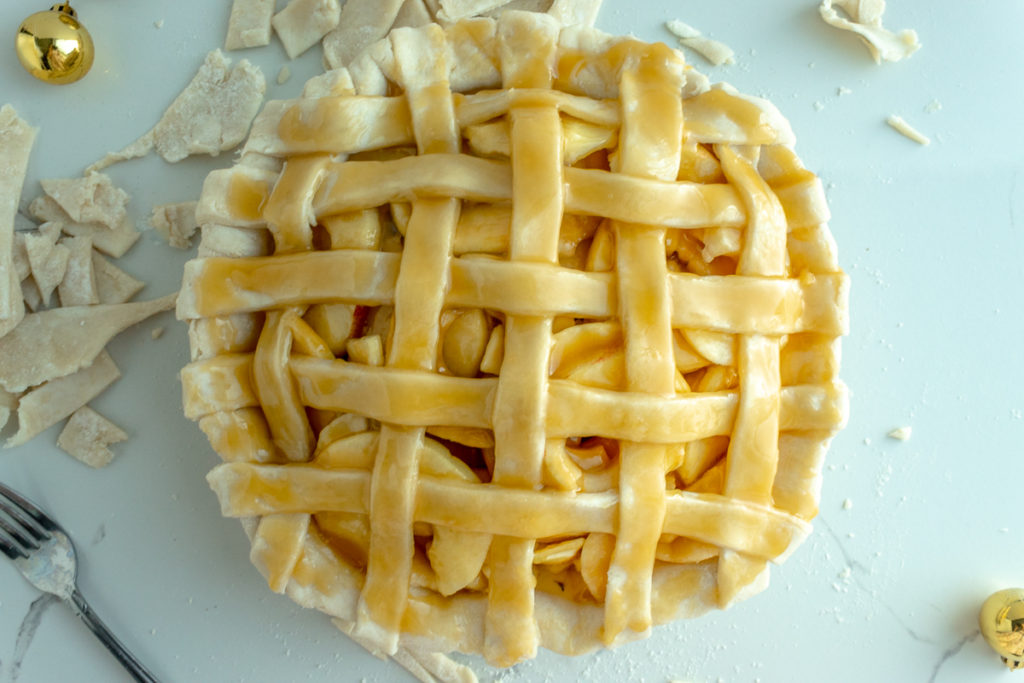
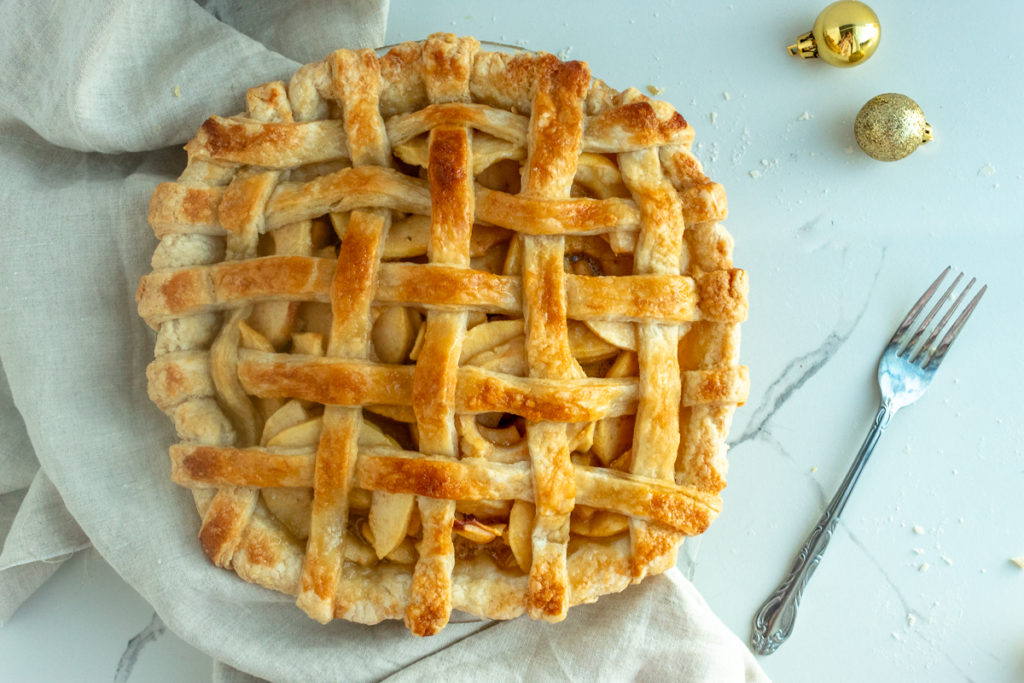
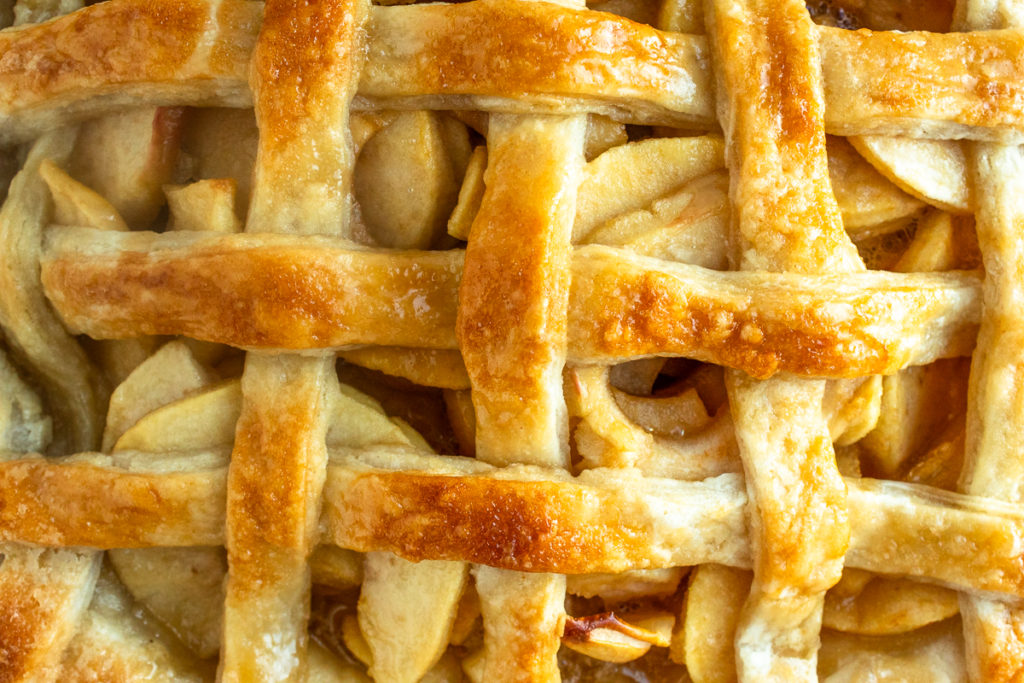
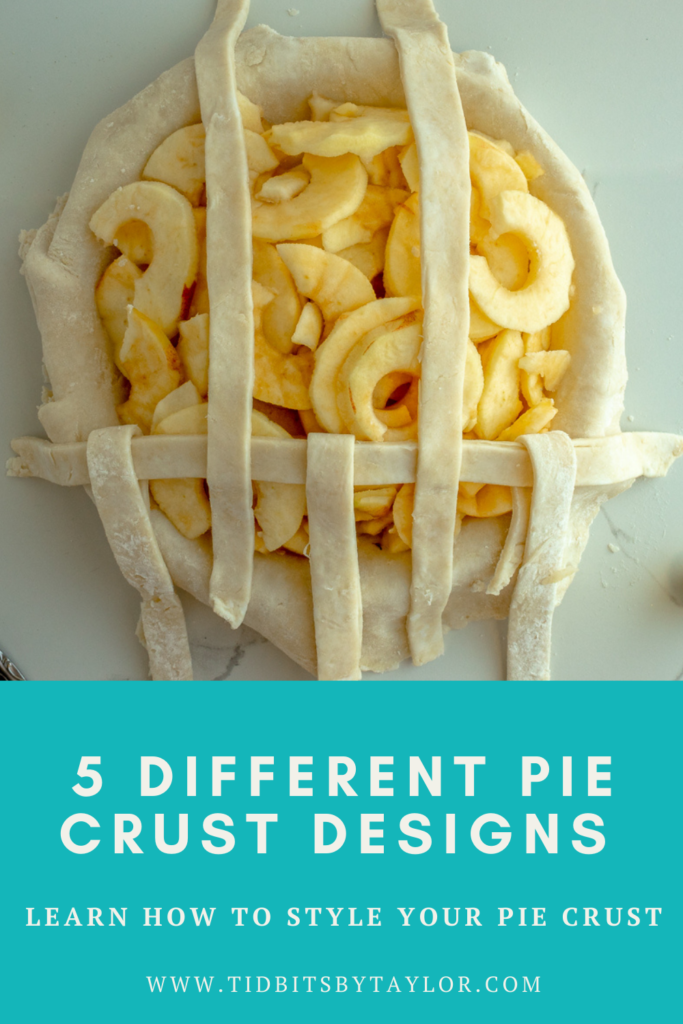
And, last but not least, is the lattice pie crust design. This method is the most challenging, but it makes the prettiest design in my opinion.
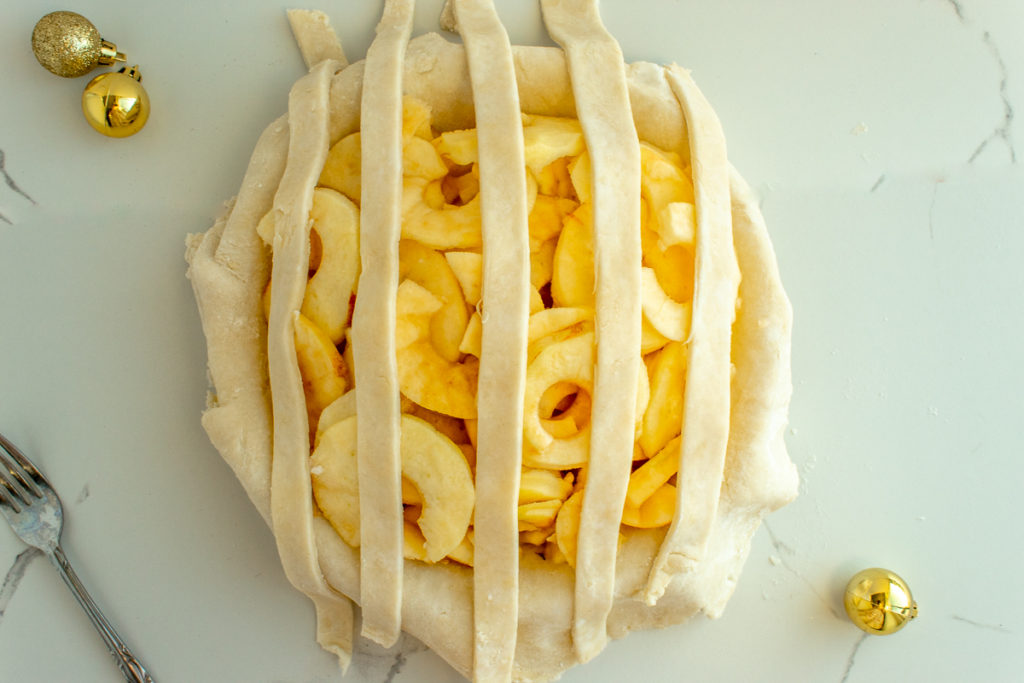
While your filled bottom crust is chilling in the fridge. Roll out your top crust to fit your desired pie plate. A width of about 13 inches should do for a 9-inch pie. Cut the pie dough into 3/4 inch strips. Using a pizza cutter works really well for this.
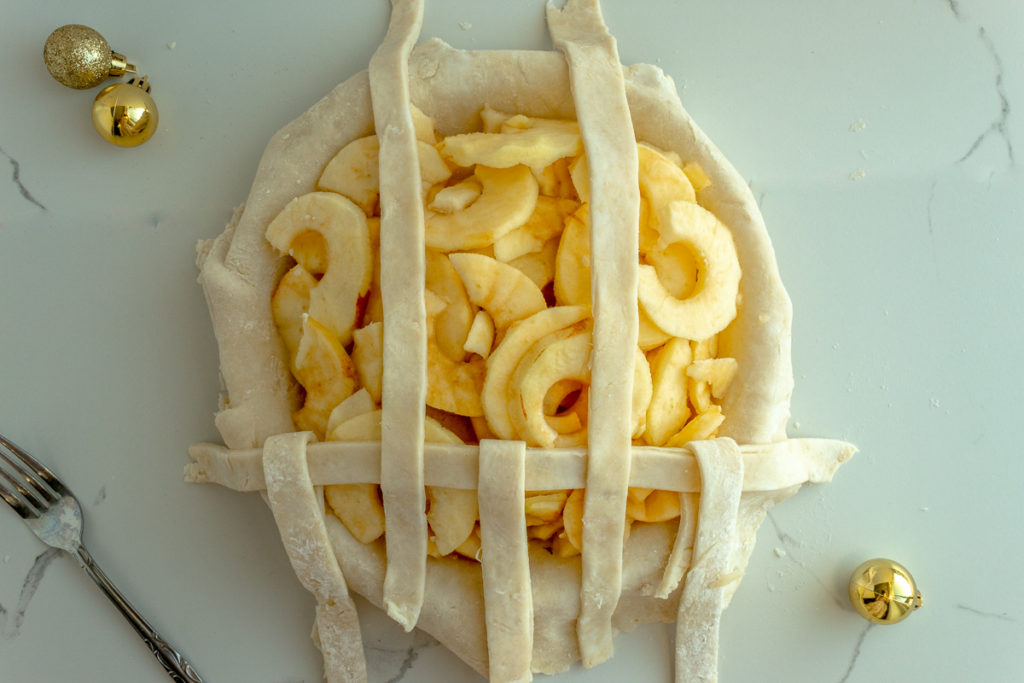
Lay five of the strips over the filled pie, evenly spaced out. Carefully fold back the second and fourth strip. Then lay another strip of dough perpendicular to that. Unfold them over the new strip.
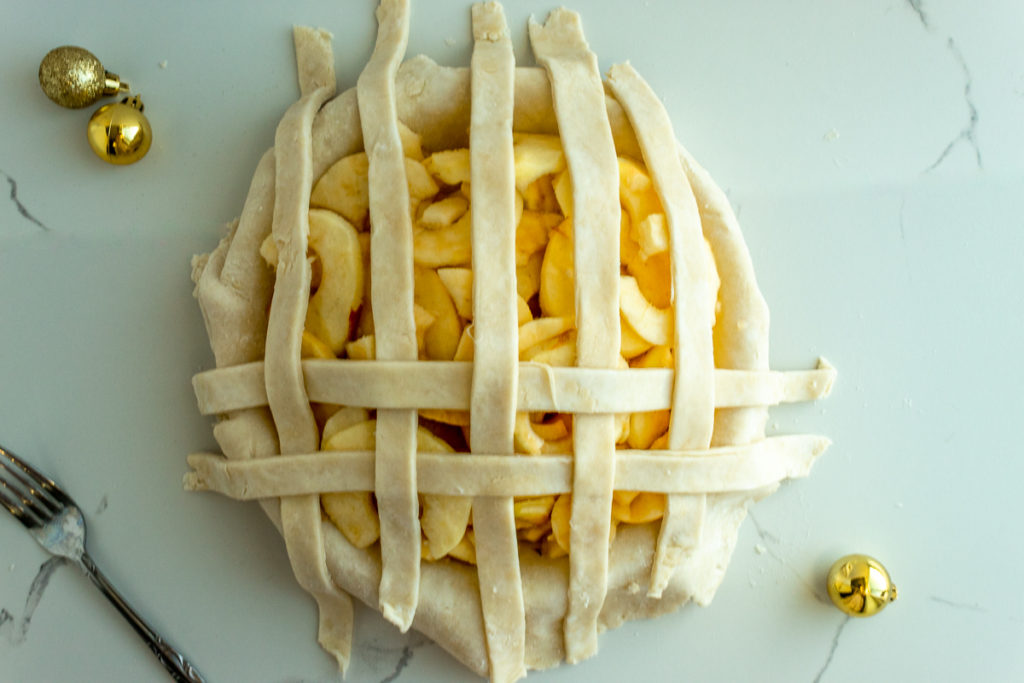
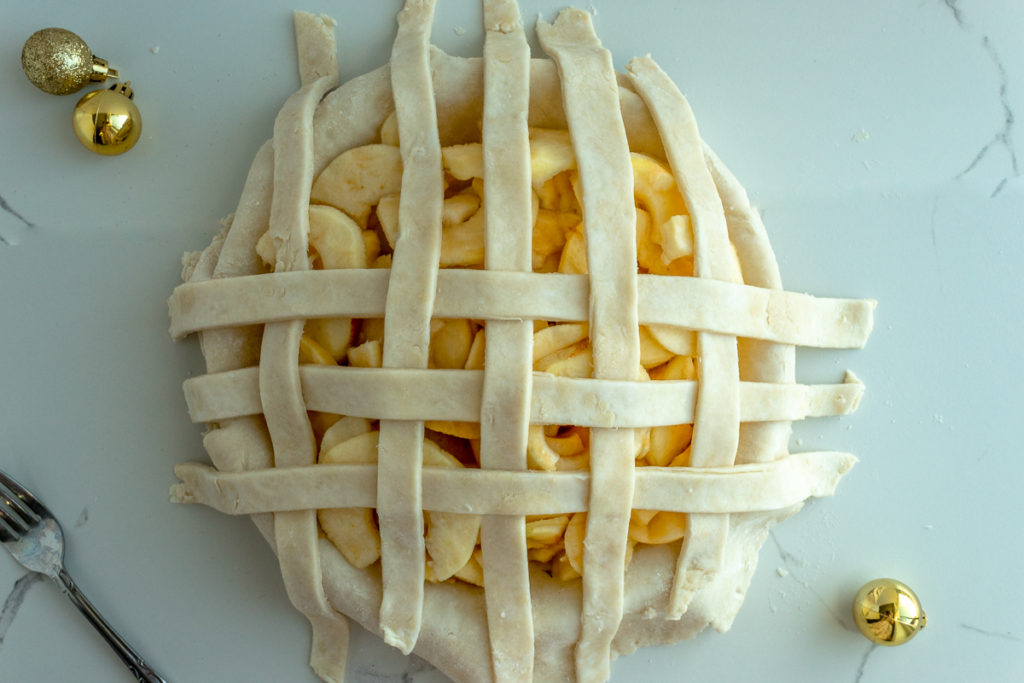
Next, fold back the first, third, and fifth strips. Then lay another strip of dough perpendicular to them. Unfold them over the new strip. Repeat this until the whole pie has been covered with a lattice crust design.
Trim the dough around the edge, leaving a 1/2 inch overhang. Then fold the edges of the top and bottom crusts underneath themselves,s creating a thicker border. And, that’s it!
Extra Scraps of Pie Dough?
Feel free to use up any leftover pie dough to make pretty designs. You can use small cookie cutters to make designs such as leaves and hearts. Or, you can even freestyle designs to fit your style.
If you are cutting out designs of pie dough for an open pie, like pumpkin, for example, I would suggest baking the cut outs separately and then placing it on top of the pie after it is done cooking, because if you place on top of the uncooked filling it may fall to the bottom. Just keep an eye on them whilst baking to make sure they don’t burn. Bake until just golden brown.
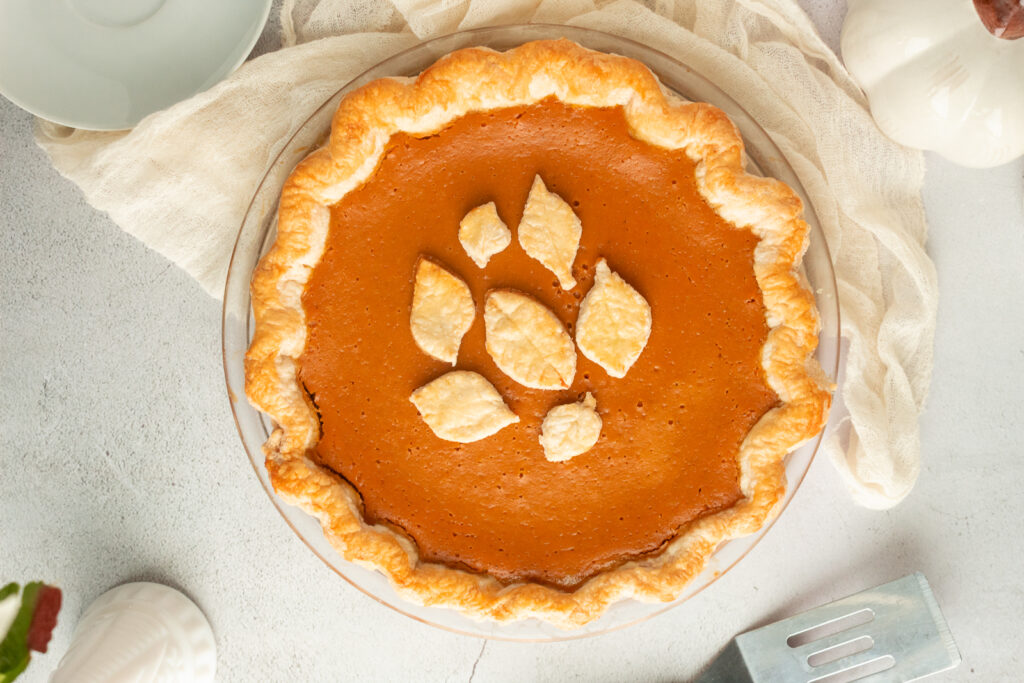
You can place your designed pie dough cutouts directly on top of a double pie crust since it will stay on top and bake together.
Braiding is also a beautiful way of using leftover pie dough if you have a lot left over. Just cut out 3 strands of pie dough and then braid them together. You can place it all around your single pie crust to make a pretty edge.
Use an Egg Wash
My last tidbit is to use an egg wash for a beautiful colour and sheen to your crust! Simply whisk one egg white with one tablespoon of milk and brush the mixture lightly on top of the pie crust using a pastry brush. You can even go a step further and sprinkle lightly with white sugar before baking.
Voila! There you have it- 5 Ways to Style a Pie Crust! Be sure to leave a comment if you have any additional questions or comments.
Did you try any of these pie crust styles?
I would love to see your pie crust creations.
Tag @tidbitsbytaylor on Instagram and hashtag it #tidbitsbytaylor
Homemade Pie Recipes

