Apple Pie Filling
Pleasantly sweet and spiced Homemade Apple Pie Filling. After trying this recipe, you’ll never buy store-bought canned filling again! All you need are apples and a small handful of pantry staples and you’re set to make a quick and easy apple pie filling!
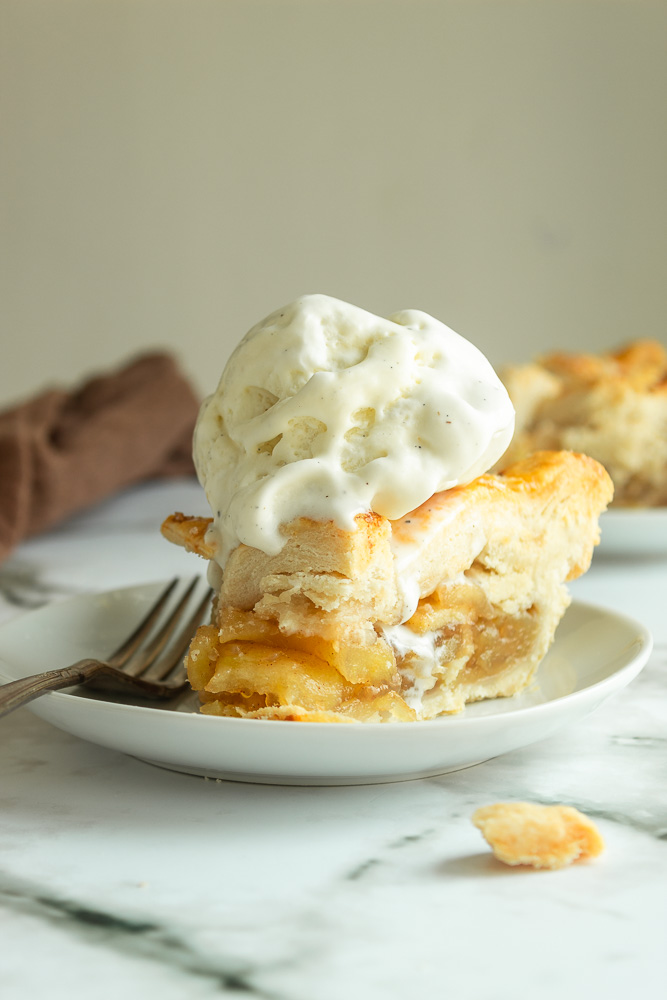
We are in the midst of fall and I have been trying to pack in as many fall festivities as possible. We just had Thanksgiving with my family and I brought this apple pie for dessert made with my hand-picked apples. Have you gone apple picking yet? If you have, you probably wonder, “What should I do with all these apples?” What better way to use apples than for an apple pie?
We are lucky enough to have an apple tree in our backyard, so I get to pick some every year and bake apple pie for family gatherings. I love how food can bring us all together and I can say that this apple pie was a big hit at our Thanksgiving dinner 🙂
Why You’ll Love This Recipe
This apple pie filling will be perfect for your next pie. It is cooked with only 5 ingredients and is so easy to make. The hardest part is cutting and peeling the apples. I use my apple parer/slicer/corer which takes out all the hard work. I highly encourage you to buy one yourself if you plan on baking with a lot of apples this year.
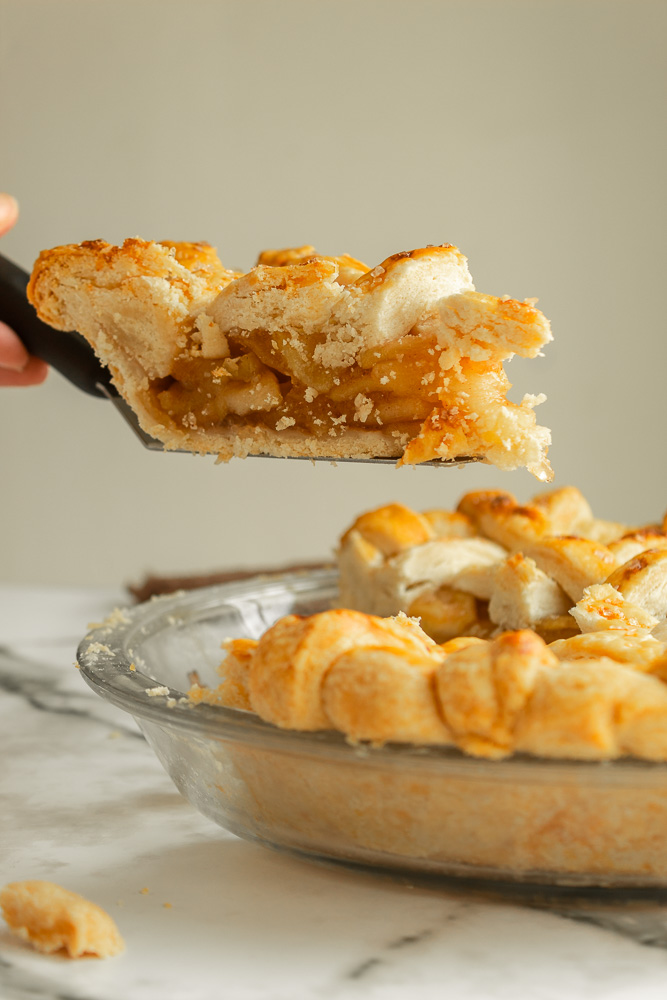
Cooked apple pie filling also solves the dreaded shrinking problem when you bake with the crust. Cooking first helps them hold their shape in the oven while also eliminating any excess liquid, thereby protecting the bottom crust.
Apple Pie Filling Ingredients
- Apples– of course, you can’t have apple pie without apples, the most important ingredient. I like to use tart apples when baking such as Granny Smith, but you could use sweet apples such as Honeycrisp or a mixture of both.
- Granulated Sugar- leads to a sweet and delectable filling.
- Tapioca– Not only a thickener, but also makes the filling bright, and clear, and gives it a stickier texture.
- Cinnamon– Apples and cinnamon go hand in hand, the cinnamon adds a nice spice to the pie.
- Lemon– a little bit keeps the apples from browning without tasting like lemon.
How to Make
- First, if you’re planning on baking your pie right away you need to have a good pie crust ready to go. You can use my Perfect Pie Crust recipe for a no-fail easy-to-make crust*. However, if you are not going to be baking your pie right away then there is no need to have your pie crust ready (unless you want to make it and freeze for later).
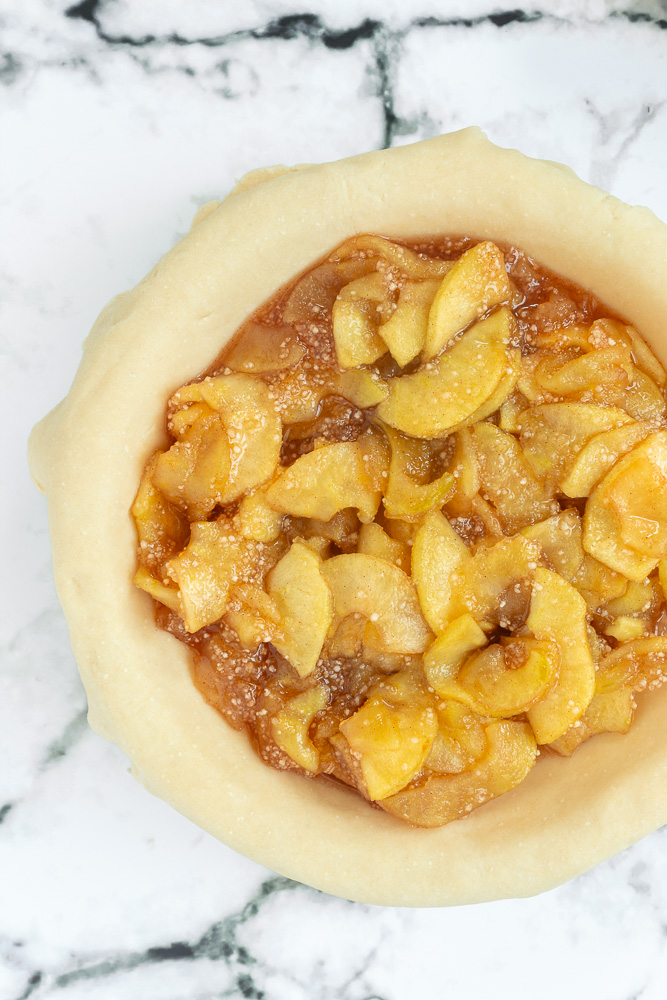
- Start to make your filling by peeling and chopping up your apples. You want to end up with 5 cups of apples. Combine your apples and 1 cup of sugar in a large saucepan over medium heat and bring to a boil. Boil hard for 1 minute.
- Mix in 1 tablespoon of tapioca, 1/2 teaspoon of cinnamon, and 1 teaspoon of lemon juice. Boil hard for 1 minute more. Makes about 4 cups of filling, enough for one 9-inch pie.
- Let rest for about 15-30 minutes before baking to allow the tapioca to soften.
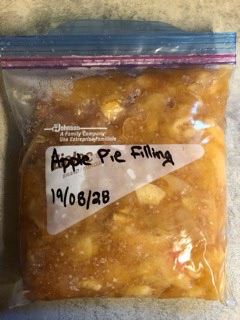
- If you are freezing, let cool completely and pour into freezer-safe bags. Freeze for up to 6 months.
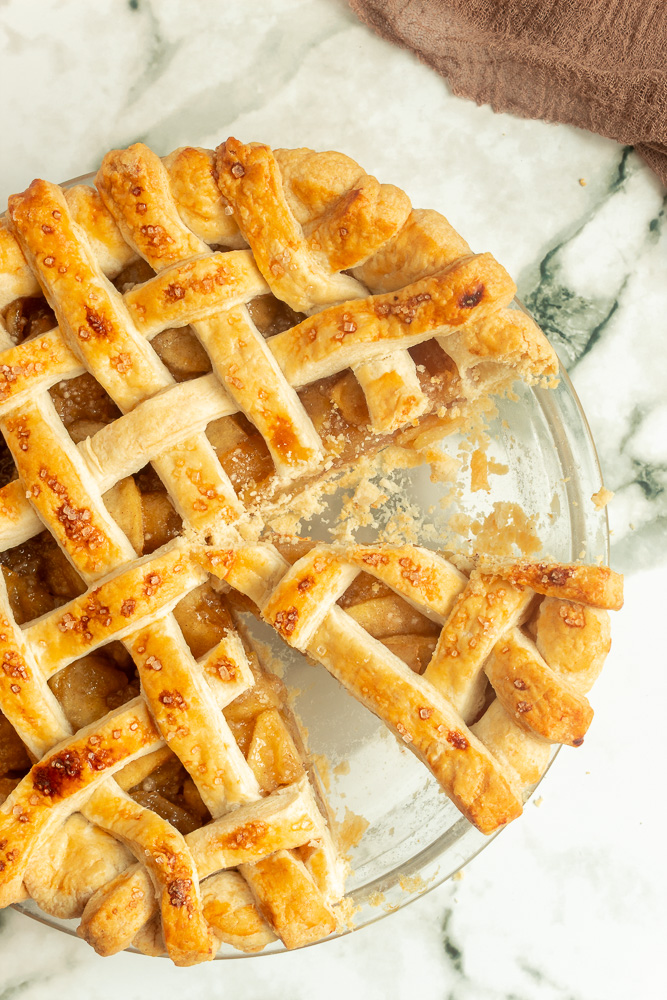
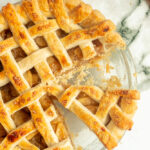
- If you are baking the pie right away, pour it into your prepared 9-inch pie crust. Lay your second rolled-out pie crust on top, and make a few slits with a sharp knife to help release steam as it bakes. You can also do a lattice pie crust like I did here.
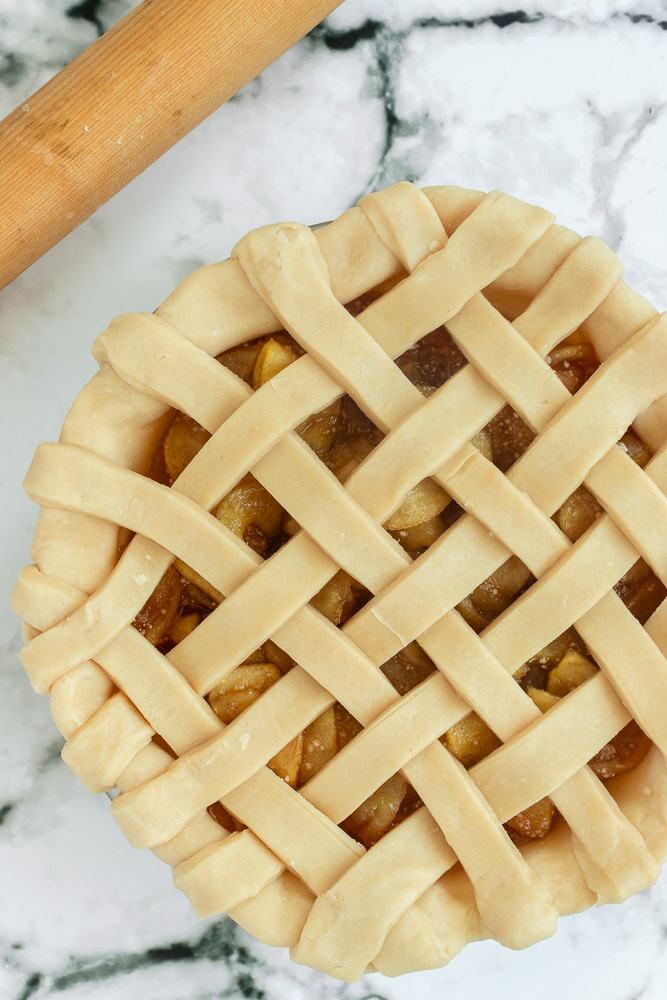
- Once you have your top pie crust on you can flute the edges or crimp with a fork. You want your edges to be sealed together to make sure the filling does not seep out.
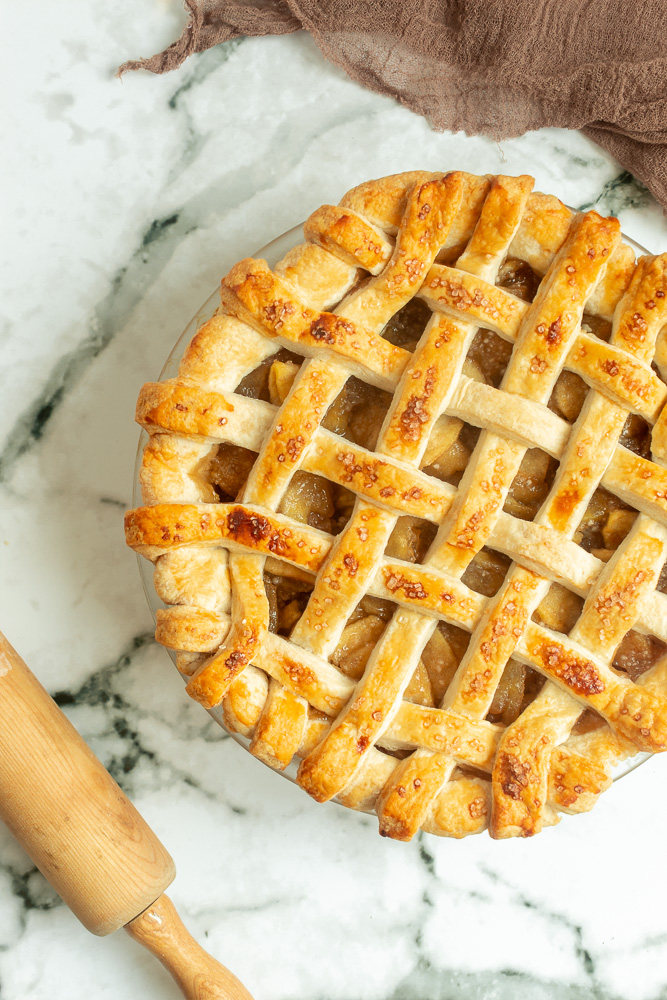
- Optional: Brush the top of the pie crust with egg wash. Whisk together one egg and 1 tablespoon of milk, and brush the mixture on top of your crust for a golden sheen, I find without the egg wash on top the pie crust looks dull, but it’s completely optional! You could also sprinkle coarse sugar on top for a glittery crunch.
- When your pie is fully assembled, it is ready for the oven. Place the pie onto a large baking sheet and bake for 25 minutes at 400° F. Keeping the pie in the oven, turn the temperature down to 375°F and bake for an additional 30-35 minutes. You may place a pie crust shield on top after the first 20 minutes to keep your edges from browning too much. Alternatively, you can place aluminum foil around the edges if you do not have a pie crust shield. That is what I do, however, this pie crust shield
from Amazon is on my Christmas list. It is silicone and adjustable, therefore fits any size of pie.
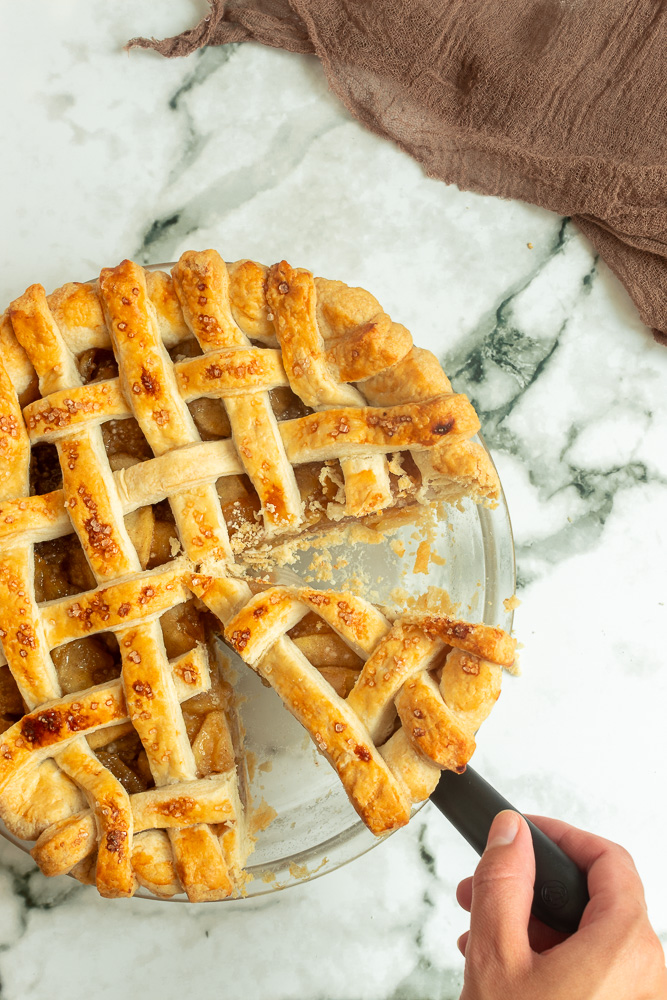
- Let cool on a wire rack completely before slicing, about 3 hours. Slice and serve on its own or with a scoop of vanilla ice cream for a delicious and irresistible homestyle dessert 🙂
*This pie crust recipe makes 6 single pie crusts or 3 double pie crusts so if you’re only making one pie, I urge you to keep the rest of the homemade pie crust dough in the freezer. This will save you plenty of time the next time you make a pie, especially with the busy holidays approaching!
If you are looking for more pie inspiration, here is my favourite Pumpkin Pie Filling recipe.

What Else Can I Make with Homemade Apple Pie Filling?
- Apple-filled cupcakes
- Apple-filled cinnamon rolls
- Use as a topping for oatmeal or ice cream
Apple Pie Filling
A simple, and delicious filling for an irresistible homestyle dessert. Freezes very well.
Ingredients
- 5 cups apples cored, peeled, and sliced
- 1 cup sugar granulated
- 2 tbsp tapioca
- ½ tsp cinnamon ground
- 1 tsp lemon juice
- 9 inch homemade or store-bought pie crust optional
Instructions
-
Prepare your favourite pie crust recipe if you are making apple pie right away. You can use my Perfect Pie Crust recipe for a no-fail easy-to-make crust.* Skip this step if you are not making it into a pie.
Apple Pie Filling
-
Combine apples and sugar in a saucepan. Bring to a boil over medium heat, stirring occasionally. Boil hard for one minute.
-
Mix in tapioca, cinnamon, and lemon juice. Boil hard for one more minute.
-
Take off the heat and let rest for 15 minutes. Let cool completely if freezing.
Baking instructions for Apple Pie
-
Pour it into your prepared 9-inch pie crust. Lay your second rolled-out pie crust on top, and make a few slits on top with a sharp knife to help release steam as it bakes. You can also do a lattice pie crust like I did here.
-
Once you have your top pie crust on you can flute the edges or simply crimp with a fork. You want your edges to be sealed together to make sure the filling does not seep out.
-
Optional: Brush the top of the pie crust with egg wash. Whisk together one egg and 1 tablespoon of milk, and brush the mixture on top of your crust for a golden sheen, I find without the egg wash on top the pie crust looks dull, but it’s completely optional! You could also sprinkle coarse sugar on top for a glittery crunch.
-
When your pie is fully assembled, it is ready for the oven. Place the pie onto a large baking sheet and bake for 25 minutes at 400° F. Keeping the pie in the oven, turn the temperature down to 375°F and bake for an additional 30-35 minutes. You may place a pie crust shield on top after the first 20 minutes to keep your edges from browning too much. Alternatively, you can place aluminum foil around the edges if you do not have a pie crust shield.
-
Let cool on a wire rack completely before slicing, about 3 hours. Slice and serve on its own or with a scoop of vanilla ice cream for a delicious and irresistible homestyle dessert 🙂
Recipe Notes
Makes about 4 cups of filling, enough for one 9-inch pie.
Filling may be stored in freezer-safe bags and frozen for up to 6 months. Baked apple pie freezes well for up to 3 months.
Calories are based on 1/8th of the pie filling with pie crust.
*This pie crust recipe makes 6 single pie crusts or 3 double pie crusts so if you’re only making one pie, I urge you to keep the rest of the homemade pie crust dough in the freezer. This will save you plenty of time the next time you make a pie.
Did you make this recipe?
Leave a comment or recipe rating below or tag @tidbitsbytaylor on Instagram and hashtag it #tidbitsbytaylor
Originally published on October 19th, 2019, updated on August 21, 2023.
You Might Also Like...

Yay! Apple pie is my favorite, but I’ve yet to actually make one in a longggg while! This looks super good (and I love that you can freeze it in case you don’t wanna make it right away!)!
Thanks for stopping by Farrah ! Yes freezing it makes it so convenient to have some on hand when you need it. Happy pie baking 🙂
Thank you! :] My friend’s coming over soon so we’ll probably be cooking/baking on the weekends–super excited!