Perfect Pie Crust
This Perfect Pie Crust has minimal ingredients for a tender and flaky crust. Great for your next Thanksgiving pie, I love Apple and Pumpkin in particular. Makes 6 single or 3 double pie crusts, because trust me, you’ll want more than one pie at your next gathering!

Last week on March 14th was National Pi Day. For those who don’t know what Pi Day is it is the celebration of the mathematical constant Π. The first three digits of Pi are 3.14 and that is why it is celebrated on March 14th every year. That’s about all I can tell you about Pi because it’s been a while since I learned about it in school and it’s funny how quickly you forget things you don’t ever use again!
So anyway, I had to celebrate by making some pies. Everyone loves a good pie, but of course, you can’t have a pie if you’re missing the most crucial part- the pie crust! The pie crust is the foundation of every good pie.
Here I am sharing my perfect pie crust recipe with you. This is a great recipe because it is light and flaky, and also pairs well with many different pie fillings. This recipe makes six single 9-inch pie crusts or 3 double pie crusts. Therefore it’s ideal if you are baking for a crowd, or just want to put a few extras in the freezer.
Ingredients You’ll Need
- All-purpose flour: forms the structure and bulk of the crust.
- Salt: intensifies the flavour.
- Baking soda: adds just a bit of rise and expansion to the crust.
- Pure lard: a cooking fat that helps create a crisp and flaky pastry crust. I always use Tenderflake for a quality lard.
- White Vinegar: prevents the formation of gluten, which in turn prevents a tough crust.
- Egg: this makes the dough more pliable and easy to roll out.
- Water: brings the dough together.
Instructions for Perfect Pie Crust
Mix 5 and 1/2 cups all-purpose flour with 1 teaspoon salt, and 1/4 teaspoon baking soda in a large mixing bowl.
Cut in 1 lb of pure lard until the mixture resembles coarse oatmeal. I always use Tenderflake in my pie crust recipe. Use a pastry cutter or you can use 2 knives. However, I find using a pastry cutter a lot easier and faster. You can find a similar pastry cutter
on Amazon by clicking this link. I like to press down and twist the pastry cutter into the mixture to be the most effective at cutting in the lard. Do not cut too finely, it is okay to have a few larger pieces.
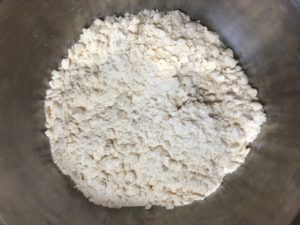
In a 1 cup liquid measure lightly beat an egg. Add 1 tablespoon of white vinegar and enough water to measure one cup. Gradually stir into the mixture just until the dough adheres together. Avoid adding too much or your pastry can become tough.
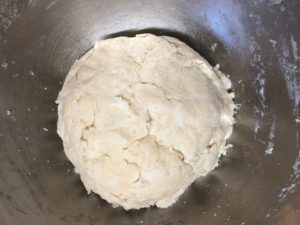
Gather into a ball and divide into six equal portions. Form each portion into a round disc. You can refrigerate unused portions in plastic wrap until ready to be rolled out. Each disc makes enough for one 9-inch pie crust.
Roll the dough into a thin 12-inch circle, about 1/8th inch thick. Using your rolling pin, start at the center and work your way out in all directions- kind of like a clock. You want enough crust to have some overhang to make a decorative edge. After you have your desired size and shape for your pie plate, transfer it onto the plate accordingly and trim any extra overhang- you want about 1/2-1-inch overhang.
For a single pie crust, you can simply press the edges with a fork and trim the pie crust edges with a knife. If you want a fluted design or you are doing a double crust, check out my 5 Ways to Style a Pie Crust post for a more in-depth tutorial.

For double crusts, center the top crust over your bottom-filled pie crust and trim leaving an extra 1/2-1 inch of overhang. Fold the overhang under so that the top crust folds slightly over the bottom crust. Fold both crusts under so they are in line with the rim of the pie plate and be sure your edges are sealed or your filling may seep out.
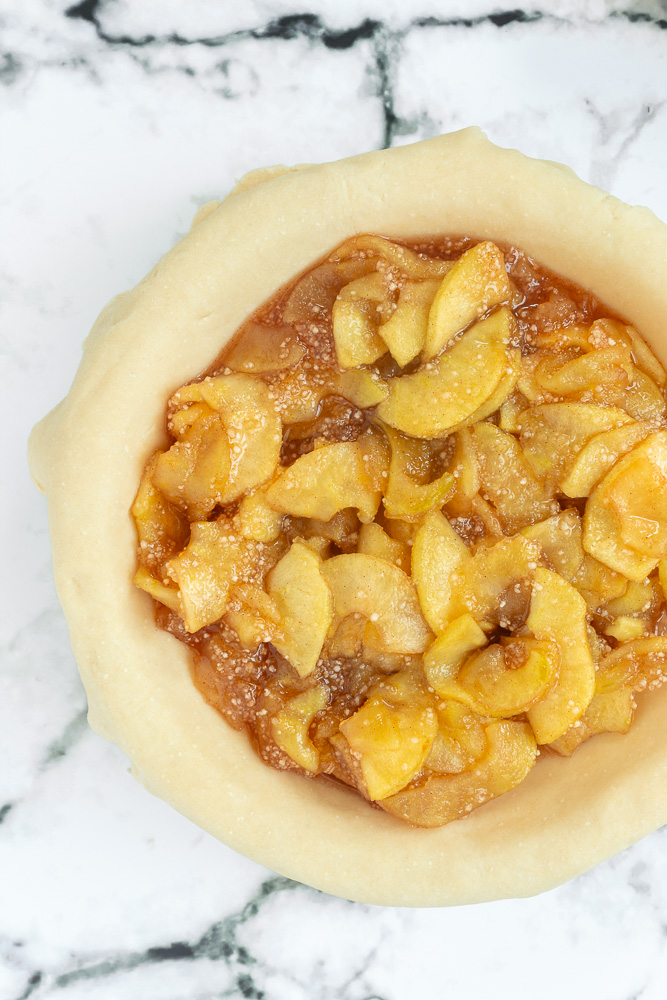
You can now flute the edge with your fingers by pressing the edges between your index finger and thumb or simply press down with a fork like I did to make a pretty design. You can also roll out the extra scraps of dough and use cookie cutters or freehand designs to go on top of your pie. Just be sure to bake them off the pie first and then place them on top of the pie filling after it is baked so it doesn’t sink. Check out my 5 Ways to Style a Pie Crust post for a more in-depth tutorial, including how to do a lattice pie crust.
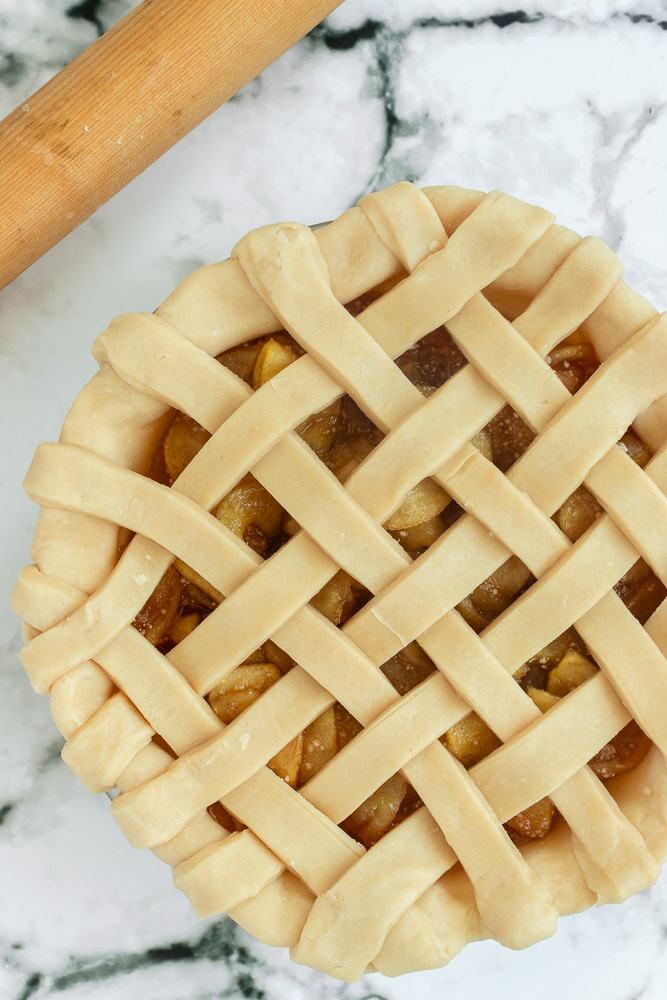
Your pie is now ready to bake! Follow your pie recipe instructions on how to bake. Tidbit: If you are pre-baking your single pie crust lightly prick the bottom and sides with a fork—place in a preheated 425° F oven for about 8 minutes.
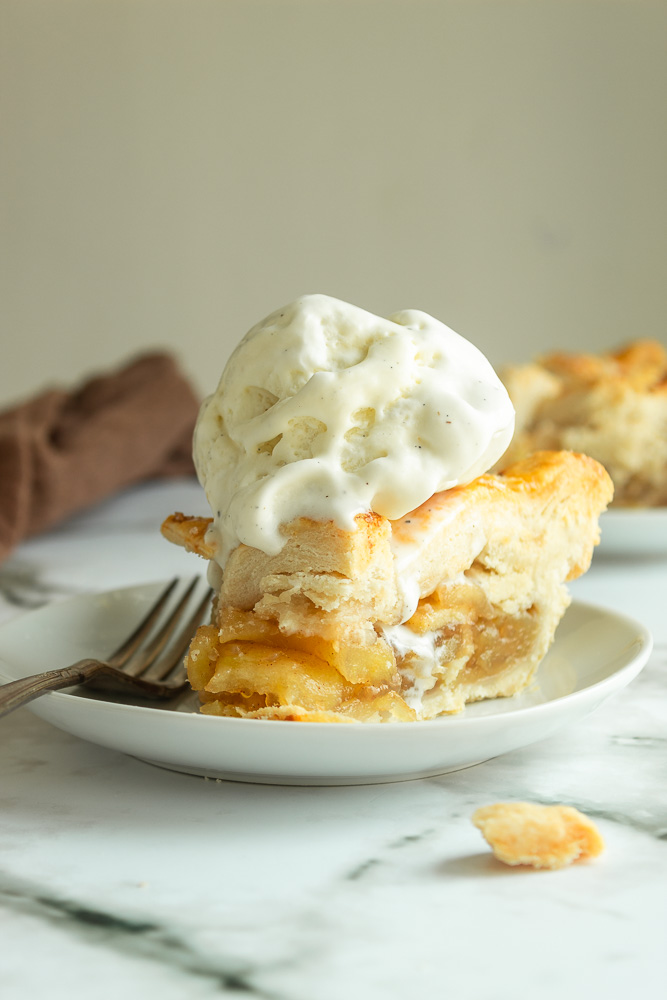
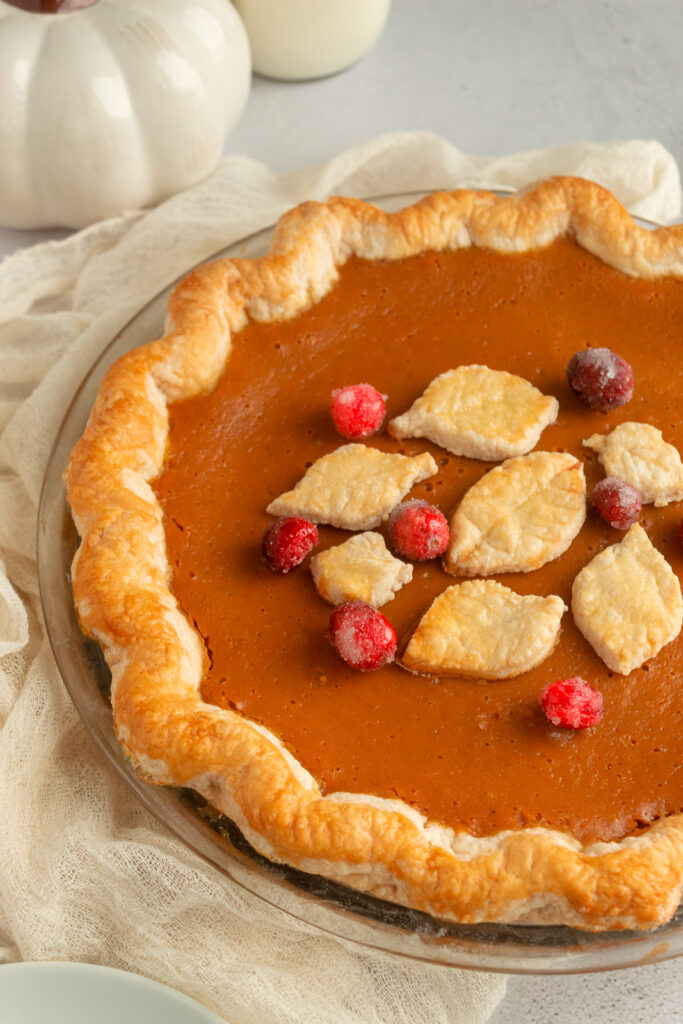

And there you have it. Light and flaky pie crusts ready for filling, baking, and eating. What will you be using your pie crusts for?
Storage Tips
If you don’t plan on using the pie pastry right away you can store them in the fridge covered in plastic wrap for up to a week or in the freezer in freezer-safe bags or covered in a layer of plastic wrap, and aluminum foil for up to 5 months. Thaw overnight in the refrigerator before using.
To finish off check out my pumpkin pie filling or apple pie filling recipes for an irresistible dessert.
Perfect Pie Crust
Light and flaky pie crusts pair well with almost any pie fillings. Makes enough for six 9-inch pie crusts or 3 double crusts. See notes for freezing instructions.
Ingredients
- 5 ½ cup flour all-purpose
- 1 tsp salt
- ¼ tsp baking soda
- 1 lb pure lard
- 1 tbsp vinegar white
- 1 large egg lightly beaten
- water cold
Instructions
-
Mix together flour, salt, and baking soda in a large bowl.
-
Cut in lard using a pastry cutter or two forks, until mixture resembles coarse oatmeal.
-
In a one cup measure combine egg, and vinegar. Add enough water to make one cup. Gradually stir liquid into lard mixture just until a soft dough forms and all the dry ingredients are mixed in. If dough is still too dry, add more water 1 tablespoon at a time. Add more flour is dough is too sticky.
-
Gather into a ball and divide into six portions. Form each portion into a round disc. You can refrigerate unused portions in plastic wrap until ready to be rolled out.
-
On a lightly floured surface, roll the dough into a thin 12-inch circle, about 1/8th inch thick. Using your rolling pin, start at the center and work your way out in all directions- kind of like a clock. You want enough crust to have some overhang to make a decorative edge. After you have your desired size and shape for your pie plate, transfer it onto the plate accordingly and trim any extra overhang- you want about 1/2-1-inch overhang.
-
Continue with the pie per your recipes instructions. If your recipe requires a pre-baked crust, you can bake at 425°F for 8 minutes.
Recipe Notes
Calories are based on 1/8th of a serving of a single pie crust.
Pie dough may be kept in refrigerator in plastic wrap up to 1 week. You can freeze unbaked pie dough for up to 3 months wrapped in plastic wrap and aluminum foil or freezer safe bags.
See my 5 Ways to Style a Pie Crust post.
Did you make this recipe?
Leave a comment or recipe rating below or tag @tidbitsbytaylor on Instagram and hashtag it #tidbitsbytaylor
Sign up for my emails to be notified of all my new posts and recipes. You will also have exclusive access to my free resource library where you can find all my free printables and resources. Includes muffin recipes ebook, dinner ideas and recipes, and meal planning bundle.

Originally published March 20th, 2018. Updated September 24th, 2023.
You Might Also Like:

You make it look so easy! I’ve never tried to make a homemade pie crust but I’m looking forward to trying this one!
Thanks for stopping by Jaime! Happy pie crust making 🙂
Your so incredible babeh